Article Overview:
- Camera settings for different night photography scenarios
- Light painting techniques and creative effects
- Astrophotography basics and star trail photography
- Urban night photography and capturing city lights
- Essential safety tips for shooting at night
When the sun sets, a whole new world of photographic possibilities emerges. Night photography offers some of the most dramatic, mysterious, and captivating images possible. From the glittering stars of the Milky Way to the vibrant energy of city lights, shooting after dark unlocks creative opportunities that simply don't exist during daylight hours.
However, night photography presents unique challenges that require specific techniques and equipment to overcome. In this comprehensive guide, we'll explore everything you need to know to create stunning night images across various scenarios.
Essential Equipment for Night Photography
Success in night photography begins with having the right tools:
Camera Requirements
- Manual Mode Capability: Essential for controlling all exposure variables.
- Good High-ISO Performance: Modern full-frame cameras often perform best, but many APS-C and Micro Four Thirds cameras also excel in low light.
- Long Exposure Noise Reduction: Useful but optional feature that can reduce noise in long exposures.
- Bulb Mode: For exposures longer than 30 seconds.
- Intervalometer: Either built-in or external for star trails and time-lapses.
Lenses for Night Photography
- Fast Aperture: Lenses with maximum apertures of f/2.8 or wider allow more light, crucial for astrophotography.
- Wide-Angle: 14-24mm range is ideal for capturing expansive night skies.
- Standard Zoom: 24-70mm range for versatility in urban settings.
- Image Stabilization: Helpful for handheld shots in urban environments but less critical when using a tripod.
Essential Accessories
- Sturdy Tripod: Non-negotiable for most night photography. Look for stability and wind resistance.
- Remote Shutter Release: Prevents camera shake during long exposures.
- Extra Batteries: Cold temperatures and long exposures drain batteries quickly.
- Headlamp: Preferably with a red light mode to preserve night vision.
- Light Painting Tools: Flashlights, LED panels, or specialized light painting tools for creative effects.
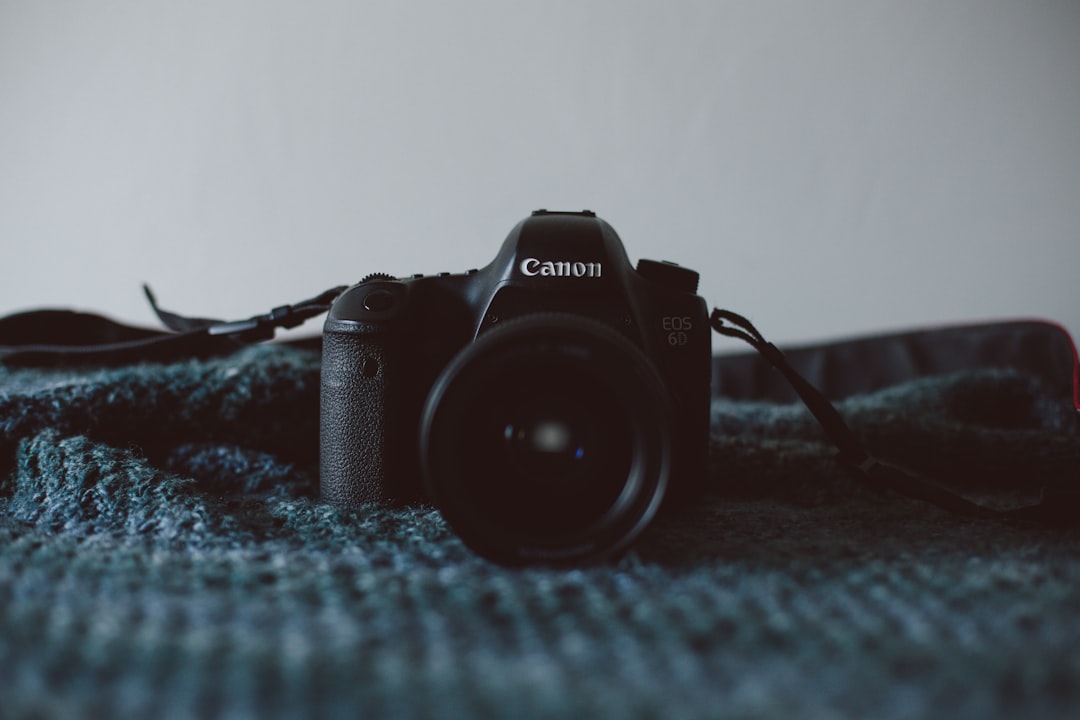
A well-prepared night photography kit includes a sturdy tripod, remote release, and extra batteries
Camera Settings for Night Photography
Night photography requires a different approach to camera settings than daytime shooting:
Basic Camera Setup
- Shooting Mode: Manual (M) for complete control.
- File Format: RAW for maximum post-processing flexibility.
- White Balance: Usually set to daylight (5500K) for astrophotography or auto for urban scenes. Fine-tune in post-processing.
- Long Exposure Noise Reduction: Optional, but can help reduce noise (doubles exposure time).
- Image Stabilization: Turn OFF when using a tripod to prevent subtle movement.
Exposure Triangle for Night Photography
Different night scenarios call for different approaches to the exposure triangle:
Astrophotography (Stars, Milky Way)
- Aperture: As wide as possible (f/1.4 to f/2.8) to collect maximum light.
- Shutter Speed: Follow the "500 Rule" (or better, the "NPF Rule") to avoid star trailing. Generally 15-30 seconds depending on focal length.
- ISO: Typically 1600-6400 depending on your camera's capabilities and light pollution.
Star Trails
- Aperture: f/4 to f/8 for good depth of field and sharpness.
- Shutter Speed: Either a single very long exposure (30+ minutes) or multiple 30-second exposures stacked in post.
- ISO: 400-800 for single long exposure; 1600+ for stacked exposures.
Urban Night Scenes
- Aperture: f/5.6 to f/11 for good depth of field and sharpness across the scene.
- Shutter Speed: Varies widely from 1/15s (handheld with stabilization) to several seconds (tripod).
- ISO: As low as possible for clean images, typically 100-800 with a tripod.
Light Painting
- Aperture: f/5.6 to f/11 depending on brightness of your light source.
- Shutter Speed: Long enough to complete your light painting (typically 10-30 seconds).
- ISO: 100-400 for clean images with minimal noise.
Astrophotography Techniques
Capturing the night sky is one of the most rewarding forms of night photography:
Planning Your Astrophotography Shoot
- Dark Sky Locations: Use Dark Site Finder or similar tools to find areas with minimal light pollution.
- Moon Phase: New moon or crescent moon phases offer darker skies for capturing the Milky Way.
- Milky Way Visibility: Use apps like PhotoPills, Stellarium, or Sky Guide to predict Milky Way position.
- Weather Conditions: Clear skies are essential; check cloud cover and humidity forecasts.
Focusing in the Dark
Achieving sharp focus is one of the biggest challenges in night photography:
- Manual Focus: Always use manual focus for night sky photography.
- Focus to Infinity: Set your lens slightly before the infinity mark (∞) during daylight, then tape the focus ring, or...
- Live View Method: Use your camera's live view, zoom in digitally on a bright star or distant light, and adjust focus until it appears as a sharp point.
- Take Test Shots: Zoom in on your test images to verify focus before committing to a long shooting session.
Proper planning and setup are crucial for successful astrophotography
Star Trails Photography
Create stunning circular patterns as the Earth rotates beneath the stars:
Single Exposure Method
- Use bulb mode for exposures longer than 30 seconds
- Use a remote shutter release with lock function
- Consider using a lower ISO (100-400) and moderate aperture (f/5.6-f/8)
- Expose for 30+ minutes depending on desired trail length
- Enable long exposure noise reduction if available
Stacked Exposure Method (Recommended)
- Take multiple 20-30 second exposures with minimal gap between shots
- Use an intervalometer to automate the process
- Higher ISO (1600+) and wider aperture (f/2.8-f/4) for each frame
- Stack images in software like StarStaX or Adobe Photoshop
- Advantage: If one frame is ruined (airplane, satellite, etc.), you don't lose the entire shot
Capturing the Milky Way
- Timing: The galactic center is most visible from April to September in the Northern Hemisphere (opposite in Southern).
- Composition: Include interesting foreground elements to create depth and scale.
- Exposure: Typical settings: 20-25 seconds, f/2.8 or wider, ISO 3200-6400.
- The 500 Rule: To avoid star trails, divide 500 by your lens focal length to determine maximum shutter speed in seconds (e.g., 500 ÷ 24mm = 20.8 seconds).
- The NPF Rule: More accurate than the 500 rule; various apps can calculate this for you based on sensor size, focal length, and aperture.
Urban Night Photography
Cities offer a vibrant canvas of light and color after dark:
Cityscape Techniques
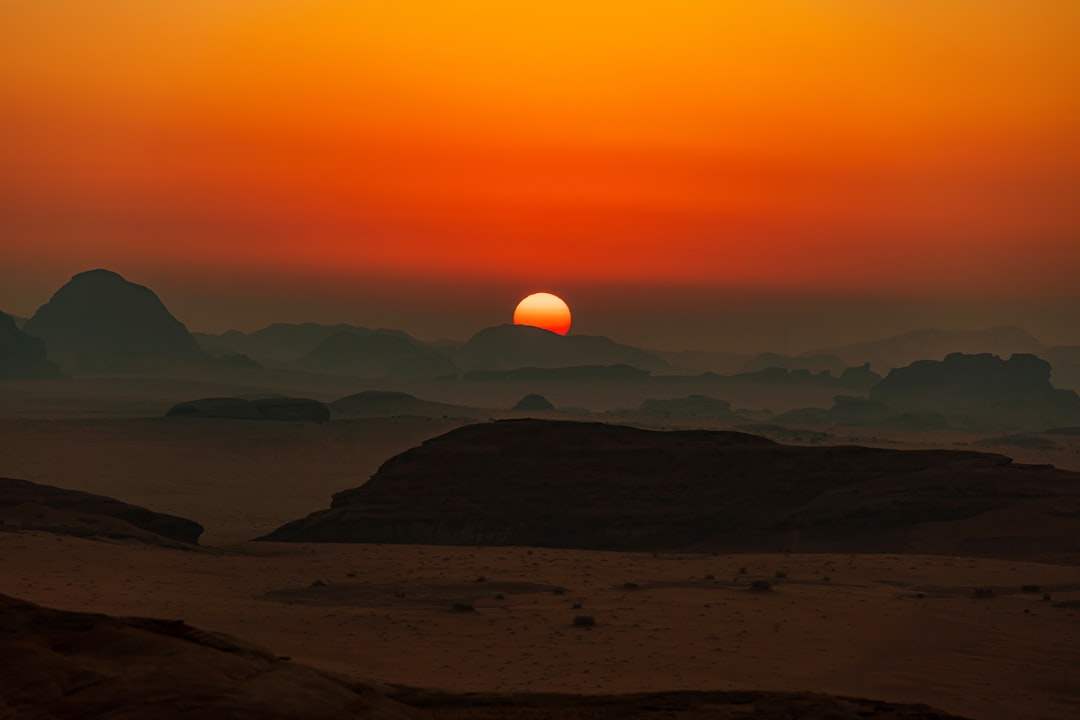
- Blue Hour: Shoot during the 20-30 minutes after sunset when the sky retains a deep blue color that balances beautifully with artificial lights.
- Leading Lines: Use car light trails, bridges, or rivers to create dynamic leading lines through your composition.
- Reflections: Wet streets, bodies of water, or glass buildings create striking reflections of city lights.
- HDR Techniques: In high-contrast scenes, consider bracketing exposures to capture both highlights and shadows.
Creating Light Trails
- Set up your camera on a tripod facing a busy street or highway
- Use apertures between f/8 and f/16 for depth of field and longer exposures
- Set shutter speed between 5-30 seconds depending on traffic flow
- Use a remote release to prevent camera shake
- Experiment with timing to capture multiple vehicles in a single exposure
Architecture at Night
- Perspective Correction: Use tilt-shift lenses or correct converging lines in post-processing.
- Mixed Lighting: Be aware of different color temperatures in urban environments; shoot RAW for greater flexibility in correcting mixed lighting.
- Wait for People: Long exposures can make crowds disappear if they're moving through the frame.
- Bracket for Windows: Bright windows against dark buildings create extreme dynamic range; bracketing can help capture all details.
Creative Light Painting Techniques
Light painting allows you to become an active participant in creating your night images:
Basic Light Painting Setup
- Mount camera on tripod in a dark environment
- Compose your shot and focus (use a flashlight to temporarily illuminate and focus on your subject)
- Set exposure: typically f/8, 10-30 seconds, ISO 100-400
- Begin exposure, then use light sources to "paint" your subject during the exposure
- Review and adjust as needed
Light Painting Tools
- Flashlights: From small penlight to powerful tactical lights.
- LED Panels: Provide consistent, even illumination.
- Colored Gels: Attach to lights for creative color effects.
- Steel Wool: For dramatic sparking effects (use with extreme caution and proper safety equipment).
- Light Wands: Create lines and patterns of light.
- Pixelstick: Specialized tool that can display images or patterns in light painting.
Creative Techniques
- Subject Illumination: Paint light across your subject to reveal it selectively.
- Writing with Light: Create words or symbols by moving a small light source toward the camera.
- Physiograms: Attach lights to string or weights and swing them to create circular or spiral patterns.
- Light Stencils: Cut shapes in cardboard and shine light through them to project patterns.
- Combining Techniques: Use different lighting techniques within the same exposure for complex effects.
Light painting offers unlimited creative possibilities for night photographers
Post-Processing Night Photography
Night images often require more post-processing than daylight shots to reveal their full potential:
Astrophotography Processing
- White Balance: Adjust to reveal natural colors in the night sky (typically 3800-4500K for natural star colors).
- Exposure Adjustments: Carefully brighten the image without introducing excessive noise.
- Contrast and Clarity: Enhance the structure of the Milky Way and stars.
- Noise Reduction: Apply selectively, as aggressive noise reduction can eliminate stars.
- Selective Adjustments: Often the sky and foreground need different processing approaches.
Urban Night Image Processing
- Lens Corrections: Fix distortion and vignetting.
- Color Balance: Correct mixed lighting or enhance colorful city lights.
- Dodging and Burning: Selectively enhance areas to guide the viewer's eye.
- Dehaze: Often helpful for cutting through urban light pollution.
Advanced Techniques
- Image Stacking: For noise reduction in astrophotography (separate from star trail stacking).
- Exposure Blending: Combine multiple exposures for dynamic range or different lighting effects.
- Focus Stacking: Particularly useful for night landscapes with detailed foregrounds.
Safety Considerations for Night Photography
Night photography often takes place in remote or isolated locations; safety should always be your priority:
Location Safety
- Research locations thoroughly before visiting at night
- When possible, scout locations during daylight hours first
- Share your plans with someone who's not joining you
- Consider shooting with a partner or group
- Be aware of wildlife, tides, and other natural hazards
Equipment and Preparation
- Carry a reliable headlamp and backup light sources
- Dress appropriately for the environment (often colder than expected)
- Bring extra batteries, water, and emergency supplies
- Ensure your phone is charged; consider a backup power bank
- Carry a first aid kit and know basic wilderness first aid
Special Considerations
- When shooting in urban areas, be aware of local regulations about tripod use
- Secure permits when shooting in restricted areas
- Exercise extreme caution with advanced light painting techniques (especially fire-based ones)
- Be respectful of wildlife and their habitats during night shooting
Conclusion
Night photography opens up a world of creative possibilities that simply don't exist during daylight hours. The techniques may require more planning, specialized equipment, and technical knowledge, but the results can be truly magical and unlike anything in your daytime portfolio.
Remember that night photography is as much about the experience as it is about the final image. There's something profound about standing beneath a star-filled sky or watching a cityscape transform after dark. Take time to enjoy these moments even as you work to capture them.
As with any photographic discipline, mastery comes through practice. Each night shooting session will teach you something new about your equipment, techniques, and creative vision. Be patient with yourself, embrace the learning process, and soon you'll be creating night images that truly shine.